
Introduction
If you have a WordPress website, you already know how important it is to show up on Google. But just having a good-looking site is not enough. You need to optimize it so search engines can find it, understand it, and rank it higher. That is where SEO plugins for WordPress come in.
SEO plugins make the whole process much simpler. They guide you through optimizing your content, setting up sitemaps, writing better titles, and a lot more. Whether you are a beginner or someone who has been blogging for years, a good SEO plugin can make a real difference in how your website performs online.
In this guide, you will learn everything you need to know about WordPress SEO setup, from choosing the right plugin to using it the right way.
What is an SEO Plugin?
An SEO plugin is a tool you add to your WordPress site to help improve its visibility on search engines like Google and Bing. It works behind the scenes to help you manage things like meta descriptions, focus keywords, XML sitemaps, and social media previews.
Think of it like a helpful assistant sitting inside your WordPress dashboard. It tells you what you are doing right, what needs improvement, and gives you easy ways to fix any issues.
Without an SEO plugin, you would have to handle all these technical settings manually, which is time-consuming and easy to get wrong. Pairing your website with Managed WordPress Hosting can further improve performance, security, and reliability, helping your SEO efforts achieve even better results.
While plugins handle the technical side of your site, combining them with NLP best practices ensures your content is also optimized for how modern search engines understand human language.
An SEO plugin is a tool you add to your WordPress site to help improve its visibility on search engines like Google and Bing. These tools simplify the process of Search Engine Optimization by helping you manage things like meta descriptions and focus keywords
Popular SEO Plugins for WordPress
Before jumping into the setup steps, let’s quickly look at the most popular SEO plugins WordPress users trust today.
Yoast SEO

Yoast SEO is one of the oldest and most well-known SEO plugins in the WordPress community. It offers a simple traffic light system (green, orange, red) that tells you how well-optimized your content is. It also helps with readability, sitemaps, and social sharing settings. The free version is solid, and the premium version gives you even more control.
Rank Math

Rank Math has grown quickly in popularity because it offers more features for free compared to most other plugins. It includes keyword tracking, schema markup, Google Search Console integration, and detailed on-page SEO suggestions. It is a great choice if you want power without paying for it.
All in One SEO (AIOSEO)
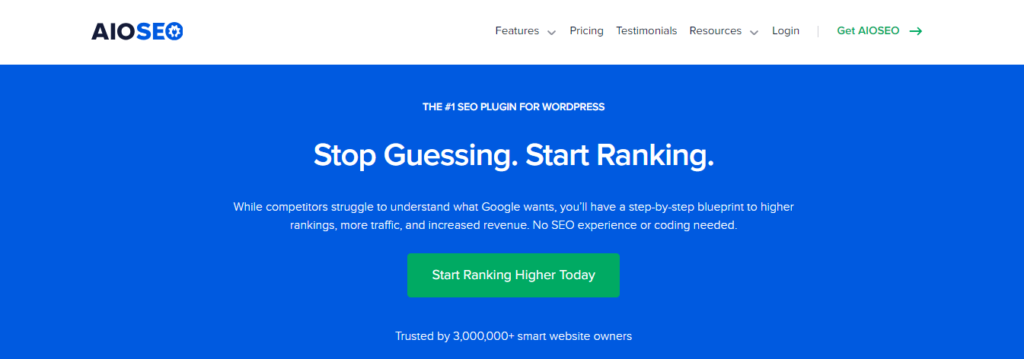
All in One SEO is another trusted name in the WordPress world. It has been around for a long time and is known for being beginner-friendly. It walks you through the setup process step by step and offers solid features for managing your titles, descriptions, and sitemaps.
All three of these are excellent choices. For this guide, we will keep the steps general so they apply to any of these tools.
Step-by-Step Guide to Setting Up SEO Plugins on WordPress
Step 1: Install the Plugin
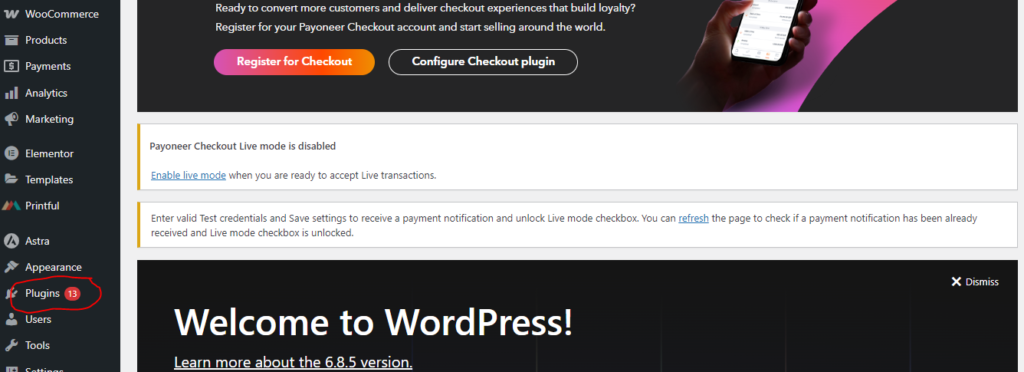
The first thing you need to do is log in to your WordPress dashboard. From there, go to the left sidebar and click on Plugins, then select Add New.
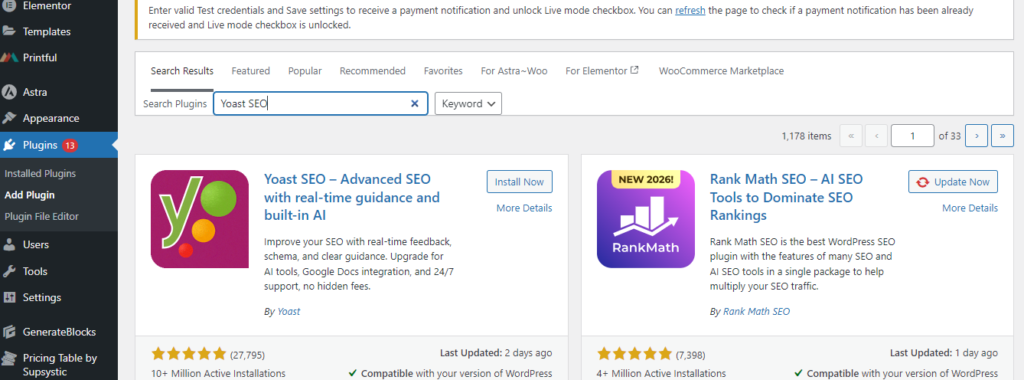
In the search bar, type the name of the plugin you want, for example, Yoast SEO or Rank Math. When it appears in the results, click the Install Now button next to it. WordPress will take a few seconds to install it automatically.
Step 2: Activate the Plugin
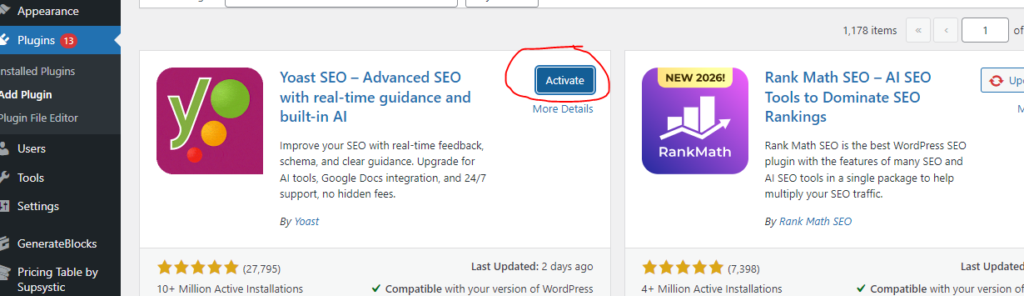
Once the installation is done, you will see the button change to Activate. Click on it to turn the plugin on.
After activation, most SEO plugins will show a notice at the top of your screen, asking you to complete the setup process. Do not skip this part. It is really helpful, especially if you are new to WordPress SEO setup.
Step 3: Go Through the Setup Wizard

Most of the best SEO plugins for WordPress come with a setup wizard. This wizard asks you a few simple questions to configure the plugin based on your website type.
You will usually be asked things like:
- What type of website do you have (blog, business, online store, etc.)
- What is your website name and logo
- Whether you want search engines to index your site
- If you want to connect to Google Search Console
Take your time answering these questions honestly. The wizard uses your answers to apply the right settings from the beginning, saving you a lot of manual work later.
Step 4: Configure Titles and Meta Descriptions
Once the wizard is done, it is time to set up your title and meta description templates. These are the texts that appear in Google search results when someone finds your website.
Go to the plugin settings and look for a section called Search Appearance or Titles and Meta. Here, you can create default templates for your homepage, blog posts, categories, and other pages.
A good title template usually includes the post title and your website name. For meta descriptions, keep them between 150 and 160 characters and make sure they clearly describe what the page is about.
This step is important because well-written titles and descriptions encourage people to click on your link when they see it on Google.
Step 5: Set Up Your XML Sitemap
An XML sitemap is basically a map of all the important pages on your website. You submit it to Google so the search engine can find and index all your content faster.
All major SEO plugins create this sitemap automatically. Go to the plugin settings and look for a Sitemap section. Make sure it is turned on. The plugin will usually give you a sitemap URL that looks something like this:
yourwebsite.com/sitemap.xml
Copy that URL and go to Google Search Console. Under the Index section, click Sitemaps and paste your sitemap URL there.
This helps Google crawl your website properly and is one of the most important steps in WordPress SEO setup.
Step 6: Optimize Your Posts and Pages
Now that everything is configured, it is time to start optimizing your actual content. Whenever you write a new post or page, scroll down below the editor. You will see the SEO plugin panel.
Here, you can:
- Enter your focus keyword (the main topic of the article)
- Write a custom SEO title
- Write a meta description
- Check readability and keyword usage
- See suggestions for improving the post
The plugin will give you a score or checklist showing what you have done well and what still needs work. Follow those suggestions to improve each piece of content before hitting publish.
Tips for Better SEO
Here are a few simple tips to help you get even better results from your SEO plugins WordPress setup:
- Use one main keyword per post and a few related keywords naturally throughout the content
- Write for humans first, not just for search engines
- Use headings (H1, H2, H3) to break up your content and make it easy to scan
- Add alt text to all your images so Google can understand them
- Link to other relevant posts on your website to keep visitors engaged
- Keep your URLs short and include the main keyword
- Update old content regularly to keep it fresh and relevant
Common Mistakes to Avoid
Even with a great SEO plugin, some mistakes can hold your website back. Here are the most common ones:
Ignoring the plugin suggestions
The plugin tells you what to fix. Many people ignore the red warnings and publish anyway. Take those suggestions seriously.
Keyword stuffing
Adding your keyword too many times makes the content unnatural and can actually hurt your rankings. Use it naturally, not forcefully.
Skipping the sitemap setup
Not submitting your sitemap means Google may take much longer to find your new content. Always set this up early.
Using the same meta description everywhere
Every page should have a unique, relevant meta description. Copy-pasting the same one does not help.
Not connecting to Google Search Console
This free tool from Google helps you track your performance and spot issues. Connect it during setup.
Conclusion
Setting up SEO plugins on WordPress does not have to be complicated. With tools like Yoast SEO, Rank Math, or All in One SEO, even beginners can get their website properly optimized without any technical knowledge.
The key is to not just install the plugin and forget about it. Use it actively. Every time you create new content, check the suggestions, fill in the meta details, and make sure your focus keyword is being used the right way.
SEO is a long game. You will not see results overnight, but with consistent effort and the right tools, your website will gradually climb up the search rankings. Start with the steps in this guide, and you will be off to a really strong start.
Frequently Asked Questions
Q1: Which is the best SEO plugin for WordPress?
There is no single answer because it depends on your needs. Yoast SEO is great for beginners, Rank Math offers more free features, and All in One SEO is solid for those who want a simple and trusted option. All three are excellent choices.
Q2: Do I need to pay for an SEO plugin?
Not necessarily. The free versions of Yoast SEO, Rank Math, and All in One SEO are good enough for most websites. You can always upgrade later if you need advanced features like keyword tracking or premium support.
Q3: How long does it take for SEO to start working?
SEO takes time. Most websites start seeing noticeable results within three to six months of consistent effort. The key is to keep publishing quality content and following best practices.
Q4: Can I use more than one SEO plugin at the same time?
It is not recommended. Running two SEO plugins together can cause conflicts and create duplicate tags in your site’s code. Stick to one plugin and use it well.

Abdullah Zulfiqar is Co-founder and Client Success Manager at RankWithLinks, an SEO agency helping businesses grow online. He specializes in client relations and SEO strategy, driving measurable results and maximizing ROI through effective link-building and digital marketing solutions.
Abdullah Zulfiqar
<strong>Abdullah Zulfiqar</strong> is Co-founder and Client Success Manager at <strong>RankWithLinks</strong>, an SEO agency helping businesses grow online. He specializes in client relations and SEO strategy, driving measurable results and maximizing ROI through effective link-building and digital marketing solutions.
